This manual serves as a valuable resource for understanding and optimizing your Dynex TV’s functionality, ensuring a seamless and enjoyable viewing experience with easy-to-follow guidelines.
Overview of the Dynex TV and Its Features
The Dynex TV is a high-quality smart television designed for an immersive viewing experience. It features a 4K resolution display, offering crisp and vibrant visuals. Equipped with built-in Wi-Fi, it supports streaming services like Netflix and Hulu. The TV includes multiple HDMI ports for connecting external devices such as DVD players, gaming consoles, and soundbars. Its user-friendly interface allows easy navigation through menus and apps. The Dynex TV also boasts built-in speakers with Dolby Audio for enhanced sound quality. With energy-saving modes and customizable settings, it ensures optimal performance and personalization for every user.
Importance of the Instruction Manual for Proper Usage
The instruction manual is essential for maximizing your Dynex TV experience. It provides detailed guidance on installation, setup, and operation, ensuring you understand all features and functions. Without the manual, you might miss key settings or connectivity options, limiting your TV’s potential. Additionally, it offers troubleshooting tips to resolve common issues quickly, saving time and frustration. Referencing the manual helps you maintain your TV properly, prolonging its lifespan and ensuring optimal performance. It’s a comprehensive resource for both new and experienced users, making it indispensable for getting the most out of your Dynex TV.
Accessing the Dynex TV Instruction Manual
Accessing the Dynex TV instruction manual is straightforward. Download it from Dynex’s official website or find it on alternative online sources. Troubleshooting guides are also available if the manual is lost.
How to Download the Manual from the Official Dynex Website
To download the Dynex TV instruction manual, visit the official Dynex website. Navigate to the “Support” section, select your TV model, and click on the “Manuals & Guides” tab. Choose the appropriate language and click “Download” to save the PDF file. Ensure you have the correct model number for accurate results. This method provides quick and easy access to the manual, allowing you to troubleshoot and explore features effectively. Always check for the latest version to ensure you have the most up-to-date information.
Alternative Sources for Obtaining the Manual
If the official Dynex website does not have the manual, alternative sources like ManualsLib, ManualsOnline, or the retailer’s website may offer downloadable versions. Additionally, third-party forums or electronics communities often share user-uploaded manuals. Enter your TV model in the search bar of these platforms to find the manual. Always verify the source’s reliability to ensure the document is genuine and compatible with your specific Dynex TV model. This ensures uninterrupted access to essential setup and troubleshooting information.
Troubleshooting When the Manual is Lost or Unavailable
If your Dynex TV manual is lost or unavailable, start by consulting online forums or communities where users often share solutions. Check for universal remote codes if pairing issues arise. For connectivity problems, ensure all cables are securely connected. Resetting the TV to factory settings can resolve many issues, though this will erase custom settings. If the TV won’t turn on, verify power cord connections and outlet functionality. Contacting Dynex customer support is also recommended for tailored assistance. Utilize online troubleshooting guides for common problems until a manual is obtained.
Installation and Setup of the Dynex TV
Unbox and prepare your Dynex TV for installation. Place it on a stable surface in a suitable location. Connect external devices for optimal functionality.
Unboxing and Preparing the TV for First Use
Welcome to your new Dynex TV! Begin by carefully unboxing and inspecting the TV for any damage. Place the TV on a stable, flat surface or mount it on a wall using the provided hardware. Remove all packaging materials and protective films. Connect the power cord to a nearby outlet. Ensure all external devices, such as cable boxes or gaming consoles, are properly connected. Turn on the TV and follow the on-screen instructions to complete the initial setup process. This ensures your TV is ready for optimal performance.
Step-by-Step Guide to Mounting and Placing the TV
Begin by selecting a suitable location for your Dynex TV, ensuring optimal viewing angles and minimal glare. Carefully unpack the mounting hardware and TV stand or wall bracket. If wall-mounting, locate sturdy wall studs and attach the bracket securely. Use a spirit level to ensure alignment. Hang the TV on the bracket, tightening all screws firmly. For tabletop placement, assemble the stand and place the TV on a stable, flat surface. Adjust the TV’s position for the best viewing experience and ensure all cables are neatly managed. Always refer to the manual for specific mounting recommendations. Safety first! Ensure the bracket is rated for the TV’s weight and follow installation guidelines carefully to avoid damage or injury. Finally, double-check all connections and placements before turning on the TV. Proper installation ensures both safety and performance.
Connecting External Devices to the Dynex TV
To connect external devices to your Dynex TV, start by identifying the appropriate ports on both the TV and your device. For older devices without HDMI, use RCA cables (red, yellow, white). Plug the yellow (video) and red/white (audio) cables into the corresponding AV ports on the TV and your device. Switch the TV’s input to match the port used. If the remote is unavailable, use the TV’s buttons to navigate the menu and change inputs. Ensure your device is powered on and set to the correct output. If issues arise, check connections, try different inputs, or reset the TV. For further assistance, contact Dynex customer support.
Using the Remote Control
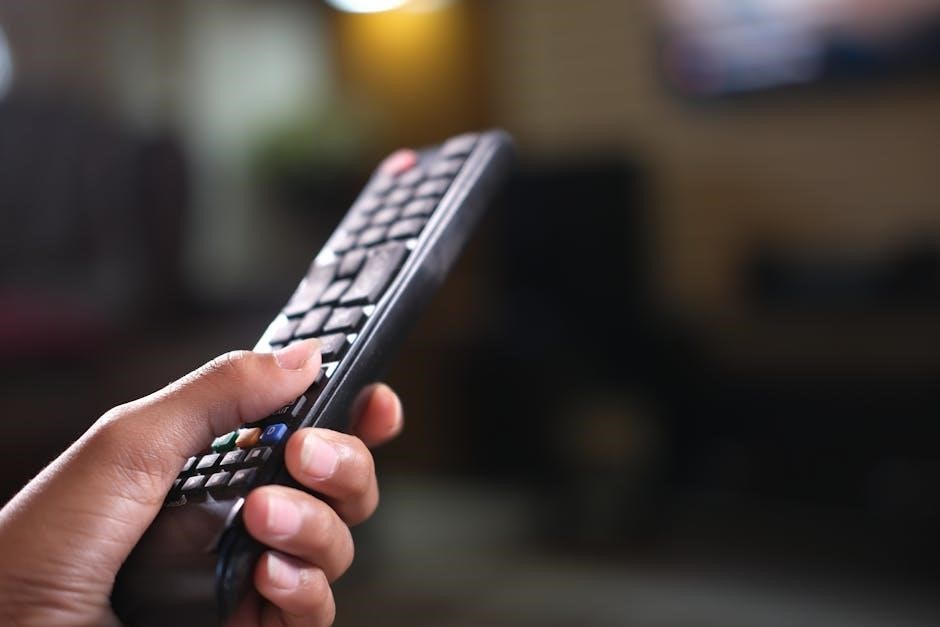
The remote control is essential for navigating menus, adjusting settings, and accessing features on your Dynex TV. Refer to the manual for troubleshooting and optimal usage.
Understanding the Remote Control Layout and Functions
The remote control for your Dynex TV features a user-friendly layout with buttons for power, volume, channel navigation, and menu access. The central keypad allows easy number input, while dedicated buttons simplify functions like switching inputs or adjusting picture settings. Familiarizing yourself with the remote’s layout ensures smooth operation, enabling quick access to desired features and settings. Refer to the manual for detailed descriptions of each button’s purpose and operation.
Pairing the Remote with the TV for Initial Setup
Pairing the remote control with your Dynex TV is a straightforward process. Ensure the TV is turned on and press the appropriate button on the remote to initiate pairing. For universal remotes, enter the specific code listed in the manual or downloaded from the official Dynex website. Point the remote directly at the TV and test functionality by pressing buttons to confirm successful pairing. Some remotes may require additional steps like syncing via a computer for the latest codes to ensure optimal performance.
Navigating the On-Screen Menu
The on-screen menu provides easy access to settings, allowing users to adjust picture, sound, and more. Use the remote to navigate options and customize preferences for optimal viewing.
Accessing and Navigating the Main Menu Options
Access the main menu by pressing the “Menu” button on your remote. Navigate using the directional arrows to explore options like picture settings, sound adjustments, and channel selection. Highlight desired options and confirm with the “OK” or “Enter” button. The menu is user-friendly, allowing easy customization of viewing preferences, input selection, and advanced features. Use the remote’s navigation keys to scroll through submenus and adjust settings for optimal performance. This feature ensures personalized viewing experiences tailored to your preferences, enhancing overall TV functionality and satisfaction.
Customizing Settings for Picture, Sound, and More
Customize your Dynex TV settings to enhance viewing experiences. Access picture settings via the menu to adjust brightness, contrast, and color balance. Sound settings allow you to fine-tune audio preferences, such as enabling surround sound or selecting audio modes. Additional options may include adjusting screen timeout, enabling parental controls, and managing connected devices. Experiment with these settings to tailor the TV’s performance to your preferences, ensuring optimal picture quality and immersive sound for a personalized entertainment experience.

Troubleshooting Common Issues
Troubleshoot power, connectivity, and picture/sound issues quickly. Check power sources, ensure proper device connections, and adjust settings for optimal performance. Refer to the manual for detailed solutions.
Resolving Power Issues and Turning the TV On
If your Dynex TV won’t turn on, check the power cord connection and ensure it’s properly plugged into both the TV and a working outlet. Verify the outlet by testing it with another device. If using a remote, ensure it has batteries and is functioning correctly. Try turning the TV on using the physical power button located on the device. If the issue persists, unplug the TV, wait 30 seconds, and plug it back in to reset it. Consult the manual for additional troubleshooting steps if the problem remains unresolved.
Fixing Connectivity Problems with External Devices
When connecting external devices to your Dynex TV, ensure all cables are securely plugged into the correct HDMI or auxiliary ports. If the TV doesn’t recognize the device, switch to the correct input using the remote or TV buttons. Restart both the TV and external device to establish a fresh connection. Check for loose or damaged cables and replace them if necessary. If issues persist, update the TV’s firmware or refer to the manual for specific troubleshooting steps tailored to your model.
Addressing Picture and Sound Quality Concerns
To optimize picture quality, adjust settings like brightness, contrast, and color balance in the TV’s menu. Ensure the display is set to the correct resolution and refresh rate for your content. For sound issues, check that the volume is turned up and that the TV is set to the correct audio output. If using external speakers, verify they are properly connected and configured. Restarting the TV can often resolve glitches affecting picture or sound. Refer to the manual for model-specific calibration options to enhance your viewing experience.
Maintenance and Care Tips
Regularly clean the screen with a soft cloth and avoid harsh chemicals to maintain picture clarity. Update the TV’s software periodically to ensure optimal performance and functionality.
Cleaning the TV Screen and Exterior Safely
To maintain your Dynex TV’s appearance and functionality, clean the screen with a microfiber cloth. Avoid harsh chemicals or abrasive materials, as they may damage the screen. For tougher smudges, lightly dampen the cloth with distilled water, but ensure it’s not soaking wet. Gently wipe the screen in a circular motion, starting from the top and working downward. Allow the screen to air dry completely. For the exterior, use a soft, dry cloth to remove dust and fingerprints. Never spray cleaning solutions directly on the TV or its surfaces.
Updating TV Software for Optimal Performance
Regular software updates ensure your Dynex TV operates at its best. To update, go to the TV’s settings menu, select “Support” or “System Update,” and choose “Check for Updates.” If an update is available, follow the on-screen instructions to download and install it. For manual updates, visit Dynex’s official website, download the latest firmware to a USB drive, and insert it into the TV. Restart the TV to complete the update. This process enhances performance, adds new features, and fixes potential issues, ensuring a seamless viewing experience.

Dynex TV Customer Support
Visit the official Dynex website for customer support, online resources, and FAQ sections. Find troubleshooting guides, manuals, and contact information for assistance with your Dynex TV.
Contacting Dynex Customer Service for Assistance
For help with your Dynex TV, contact customer service via phone, email, or live chat through the official Dynex website. Visit the support section for contact details and assistance with troubleshooting, repairs, or general inquiries. The support team is available to address your concerns and provide solutions. Ensure to have your TV model number ready for efficient service. Dynex customer service aims to resolve issues promptly, ensuring a smooth experience for all users.
Online Resources and FAQ Sections for Quick Help
Dynex offers extensive online resources and FAQ sections to address common questions and issues. Visit the official Dynex website for troubleshooting guides, user manuals, and interactive support tools. The FAQ section covers topics like connectivity, picture settings, and remote control pairing. Additionally, forums and community discussions provide peer-to-peer solutions. These resources are designed to help users resolve issues quickly without needing to contact support directly, ensuring a smooth and efficient problem-solving experience for Dynex TV owners.
Frequently Asked Questions
Find answers to common questions about your Dynex TV, such as resetting to factory settings or connecting external devices, all covered in the manual for quick solutions.
How to Reset the TV to Factory Settings
To reset your Dynex TV to factory settings, navigate to the Menu using the remote or TV buttons. Select System or Settings, then choose Reset or Factory Reset. Enter the default PIN (usually 0000) when prompted. Confirm the reset, and the TV will restart with default settings. Note that this will erase all custom configurations. If the menu is inaccessible, press and hold the TV’s Power button for 10-15 seconds to force a factory reset.
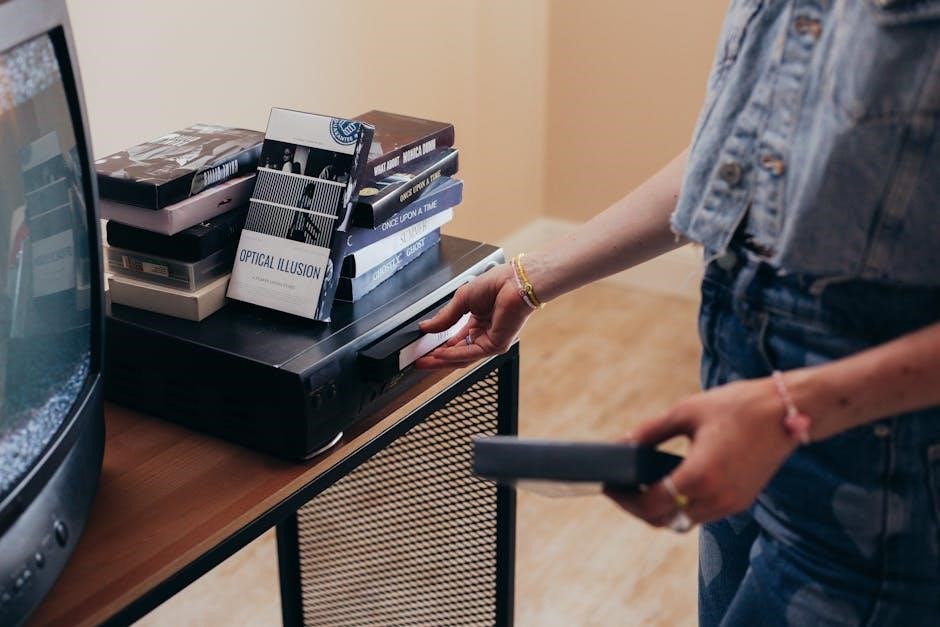
Connecting the TV to a DVD Player or Cable Box
Connect your DVD player or cable box to your Dynex TV using HDMI or RCA cables. Locate the HDMI or RCA ports on both devices. Plug one end of the HDMI cable into the DVD player or cable box and the other into the TV’s HDMI port (e.g., HDMI 1). For RCA connections, match the color-coded cables (yellow for video, red/white for audio). Turn on both devices, press the Input button on the TV remote, and select the correct HDMI port or AV mode to view content from the connected device.
Using the TV as a Computer Monitor
Connect your computer to the Dynex TV using an HDMI cable. Ensure both devices are turned on. Use the TV remote to select the correct HDMI input channel. Adjust the TV settings to match your computer’s resolution for optimal display quality. If needed, use the TV’s built-in speakers for audio or connect external speakers. For the best experience, ensure the TV is set to the correct aspect ratio and adjust any settings to minimize lag, especially for gaming or video tasks. Refer to the Dynex manual for specific configurations.
Final Tips for Maximizing Your Dynex TV Experience
To enhance your Dynex TV experience, regularly update the software for optimal performance and new features. Clean the screen with a soft cloth and avoid harsh chemicals to maintain picture clarity. Experiment with picture and sound settings to customize your viewing preferences. For connectivity issues, ensure all cables are securely connected and use the correct input settings. Refer to the manual or online resources for troubleshooting common problems. By following these tips, you can enjoy a seamless and immersive entertainment experience with your Dynex TV.